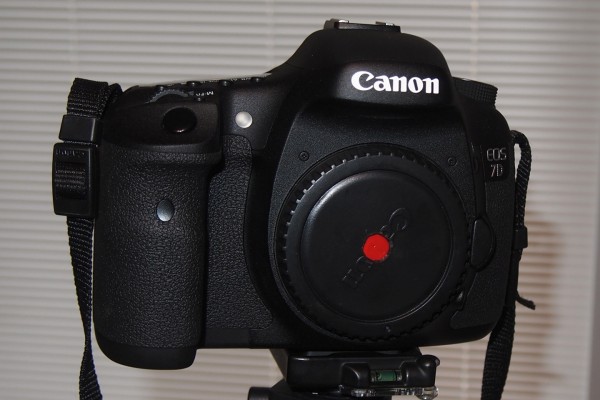
I got an itch to try something different today, so I added the oldest known lens to one of the most advanced cameras made! (Okay, okay, so a Canon 7D is a year or so old; it is a heck of a lot more advanced than one of my Argus C3’s!) I made a pinhole lens. You can buy them, but why?
First, the results, both from the camera and processed. All of them are reduced in size.
(30 seconds, ISO 320)
Processed.
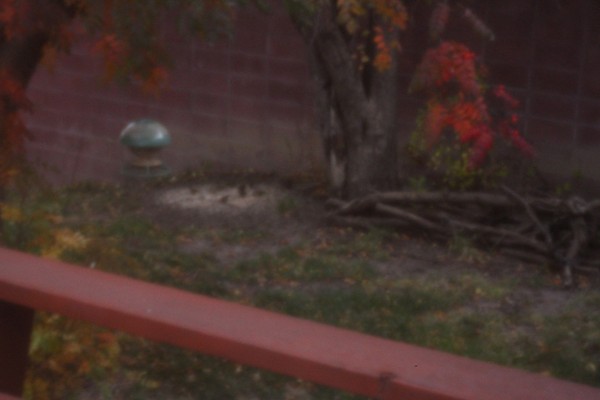
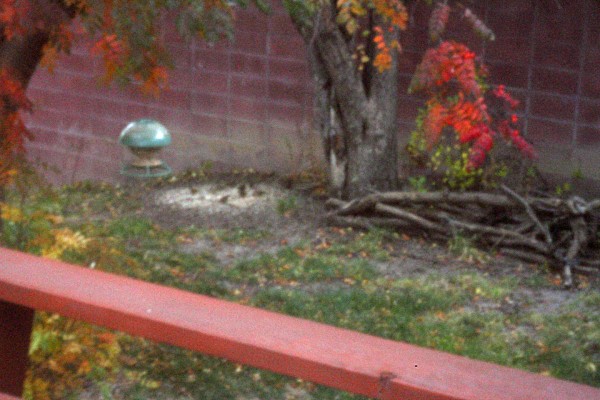
Still not too sharp. There are better programs for sharpening than Photoshop Elements. Or I could go with a smaller pinhole…This is the Mountain Ash tree in our backyard. It is a little breezy today. It is Great Falls, after all!
(1/2, ISO 1000)
Processed.
Birds under a bird feeder.
(1/3, ISO 3200)
Processed.
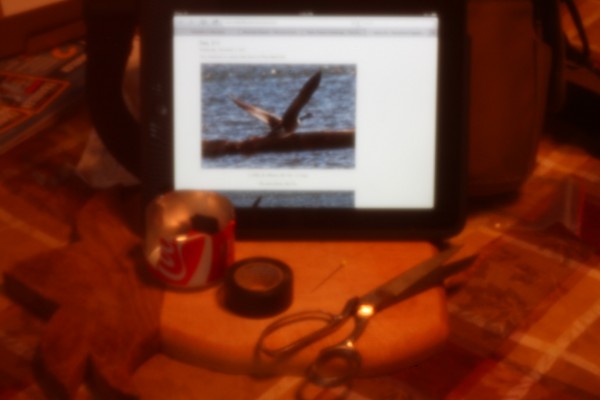
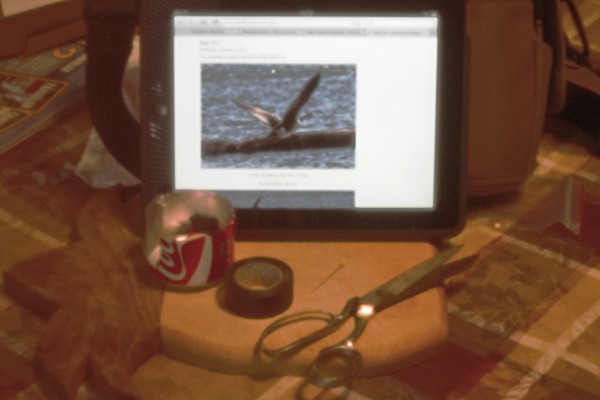
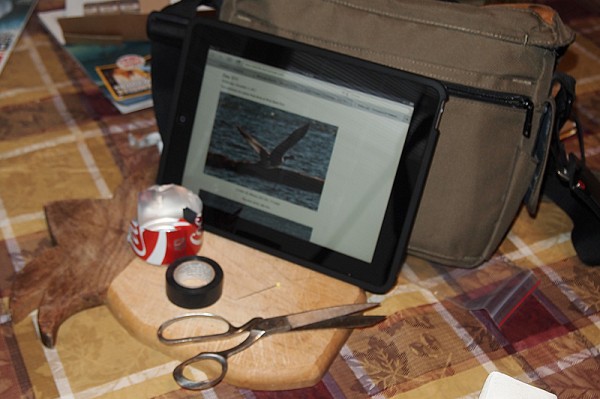
Here is the stuff I used to make the pinhole lens, except for the body cap and the drill.
(30 seconds, ISO 400)
I used a Coke can, scissors, electrical tape, and a straight pin, plus a Canon body cap and a drill with a quarter inch bit.
Processed.
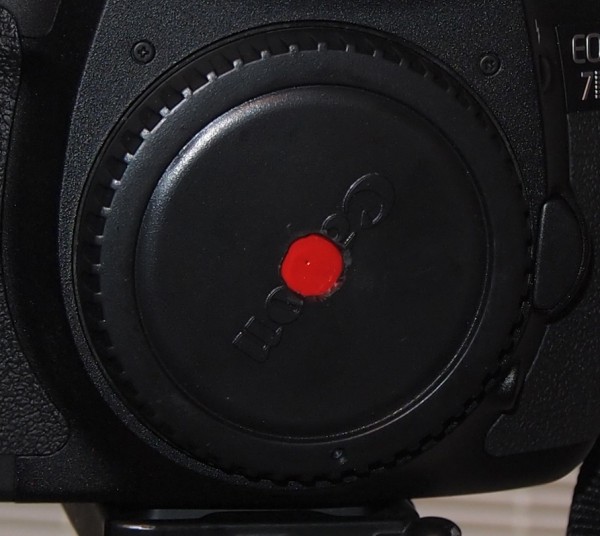
I took a Canon body cap, found the center of it, and drilled a quarter inch or so hole. That’s the red spot.
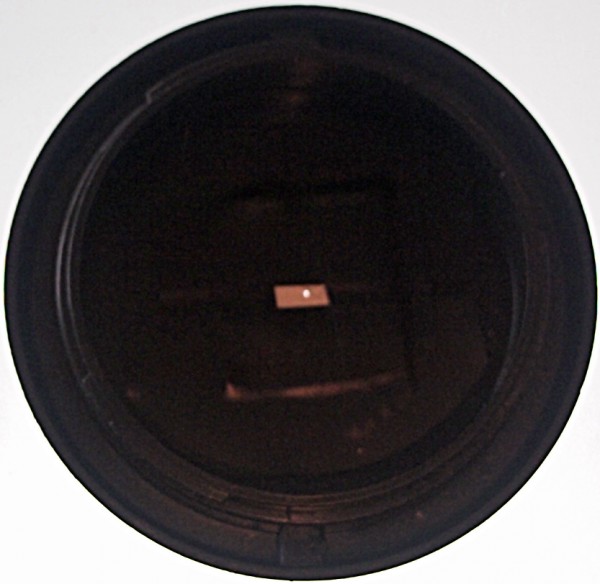
The body cap generally comes on the body when you get the camera, even if it came with a lens, or you can buy extras. Here is a closeup of the cap and hole. You can just see the pinhole.
I took an empty Coke can and cut it in half with some old scissors. They are made of such light aluminum anymore that it cuts really easy, easier than most light card stock.
I cut a 1/2 x 1/2 inch square from the Coke can, and placed that on the cutting board, and easily made a hole with a straight pin. As you will see, my hole is pretty small, but I think it makes for a sharper image the smaller you can make the hole. You can buy holes pre-punched, and they are in the tenths of a millimeter or smaller. Google “digital pinhole camera” to chase down more information. Make sure there is not a burr on the side away from you when you made the hole.
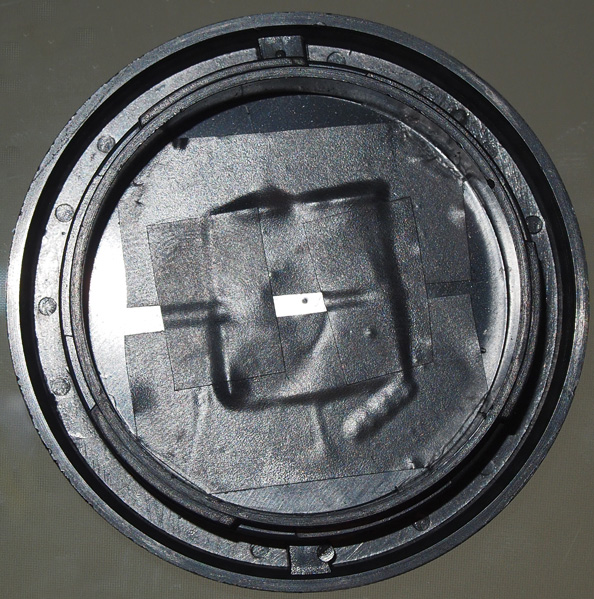
I taped the piece with the pinhole over the hole in the body cap with electrical tape, leaving very little of the metal exposed. You don’t want shiny bits reflecting light around on your image. That little dot is the pinhole. This is the camera side of the body cap.
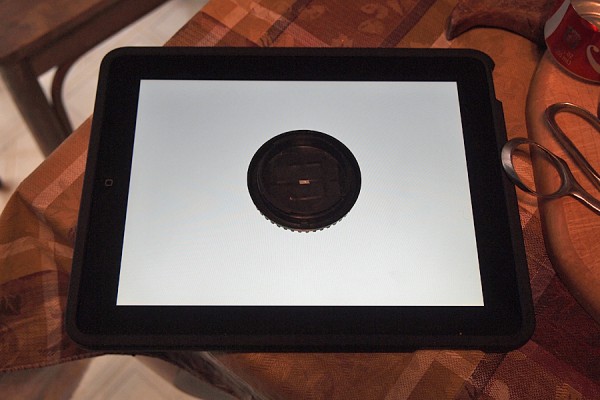
Here are two more images showing the pinhole. Backlighting by iPad.
***
Exposures are easy. Put the camera on a tripod. Set the camera to shutter speed mode, usually something like “Tv”. If you have a Bulb setting and a cable/remote release, that will work, too. Then try a 10 second exposure at ISO 200 (outdoors). Work your way up to 15, 20 and 30 seconds, until it looks right to you. Inside I found 30 seconds at ISO 400 was good. Play around using different settings. At ISO 3200, 1/3 of a second on a cloudy day worked well outside. You could almost handhold at this setting! Instant playback from a digital camera take a lot of work out of getting the right exposure.
***
I figure my pinhole is roughly between f60 and f100, so using Live View or an live image on the LCD on the back of a DSLR, or even the view finder, is not going to work. Shoot a few photos to get a good exposure, then fiddle around with pointing the camera as you see the result. Shoot in JPEG and RAW. There are more things you can do with the photo in RAW, and pinhole photos can need a lot of processing sometimes.
***
If you decide digital pinholes are not for you, put a piece of tape over the hole, and you have your body cap back!
***
Be creative. Try different things.  Have fun!
(This should be really neat in Hawaii…)
***
~Curtis in /\/\onTana! {!-{>




2 Comments